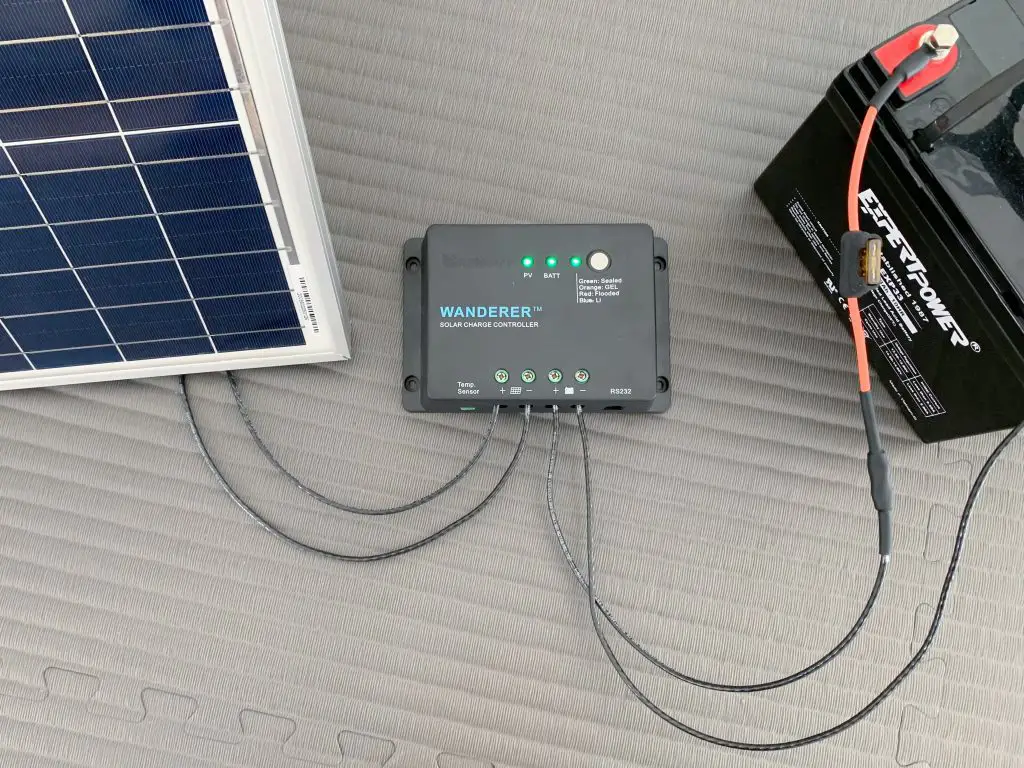
Putting in a solar charge controller by itself isn’t going to fix everything.
You have to check and adjust its settings because different batteries need different settings.
There are various battery types: Lithium Iron Phosphate (LIPO), lead-acid, and flow batteries. But there are only two main kinds of charge controllers:
- MPPT controller – This stands for maximum power point tracking controller.
- PWM controller – This means pulse width modulation controller.
Before setting up your solar charge controller, you should learn how it works.
Here’s what to remember when installing and adjusting your solar charge controller:
- When the battery is fully charged, it can’t take in more solar energy than its chemical makeup allows.
- If the battery gets too much charge, it can get hot and gases might build up inside.
- The electrolytes in the battery start to swell and create bubbles.
- These bubbles produce hydrogen gas, which can explode.
- An overcharged battery won’t last as long and will age faster.
Now, let’s talk about the basic settings of solar charge controllers:
Basic Settings of Solar Charge Controllers
- Battery Floating Charging Voltage – This voltage keeps the battery at full charge and stops it from losing power on its own. For a 12V system, this is usually 13.7V; for a 24V system, it’s 27.4V; and for a 48V system, it’s 58.4V.
- Battery Over-Discharging Protection Voltage – This is the voltage that prevents the battery from losing too much charge. The range for a 12V system is usually 10.8V to 11.4V, for a 24V system it’s 21.6V to 22.8V, and for a 48V system, it’s 43.2V to 45.6V. Typically, the values are 11.1V, 22.2V, and 44.4V.
- Battery Overcharging Protection Voltage – Set this according to your battery type. It’s also called the full charge cutoff voltage. For a 12V system, it’s between 14.1V and 14.5V. For a 24V system, it’s 28.2V to 29V, and for a 48V system, it’s 56.4V to 58V. The usual values are 14.4V, 28.8V, and 57.6V.
- Charge Controller Capacity – This is the maximum amount of current the controller can manage. It can be 10A, 20A, 30A, and so on, up to 100A.
- Maximum Charging Current – This is the most current your solar panels can give. It’s what the batteries actually put out.
- System Voltage – This refers to your solar power system’s operational voltage, like 12V, 24V, or 48V. Bigger systems might operate at 110V or 220V.
Solar Charge Controller Settings for Lithium Batteries
For those using lithium batteries with a solar charge controller, there are several essential points to consider during setup:
- Temperature Compensation: Lithium batteries do not require temperature compensation, unlike other battery types. Ensure that this feature is disabled or set to the correct parameter for lithium batteries.
- Equalization Settings: If you’ve previously been using lead batteries and you switch to lithium, it’s crucial to adjust the equalization settings. Lithium batteries don’t need equalization, and having it enabled can be detrimental to their lifespan and performance. On many charge controllers, you can disable the equalization feature by selecting EQE (Master equalizer enable/disable) or by turning OFF the dip switch, depending on your controller model.
- Charging Profile: For optimal performance and battery lifespan, it’s essential to configure the charge controller with the appropriate settings for a lithium battery:
- Charge Voltage: Set this to 14.4 volts, which is equivalent to 3.6 volts per cell (VPC).
- Absorption Time: Adjust this to 30 minutes. This period ensures that the lithium cells are balanced correctly during the charging process.
- Float Voltage: Set this value to 13.6 volts.
- Resting Voltage: Typically, the default for this is 3.4 VPC.
Solar Charge Controller Settings for Lead Acid Battery
For lead-acid batteries, which are a traditional choice for solar power systems, the transition from lithium or AGM to lead-acid is typically straightforward because charge controllers come pre-configured with the necessary settings for lead-acid batteries.
Here’s what you need to know about setting up your controller for lead-acid batteries:
- Default Settings: When you select the lead-acid battery type on your charge controller, it will automatically apply the standard settings suitable for most lead-acid batteries. This simplifies the process, often making it as easy as connecting the battery to the system.
- Manual Adjustments: Although pre-installed settings are a good starting point, for optimal performance and longevity of your batteries, it’s always a good idea to double-check and adjust any settings according to the specific requirements of your battery manufacturer.
By adjusting the solar charge controller settings to fit the specific needs of your lead-acid batteries, you ensure that the batteries charge efficiently and that you maximize the potential of your solar energy system.
Solar Charge Controller Voltage Settings
Setting up the correct voltages is crucial for the solar charge controller to work properly.
A solar charge controller can handle different battery voltages, usually between 12 volts and 72 volts.
The standard settings are made for either a 12-volt or a 24-volt maximum input.
Before using your charge controller, make sure to set the voltage and current correctly by adjusting the voltage settings.
Here’s a breakdown of the most important voltage settings for the solar charge controller:
- Absorption Duration: You can choose between Adaptive (which adjusts based on the battery’s needs) or a Fixed time.
- Absorption Voltage: Set this to 14.60 volts.
- Automatic Equalization: You can disable this or set it to equalize every certain number of days. It’s typically set to Disabled.
- Equalization Current Percentage: This should be at 25%.
- Equalization Duration: Aim for 4 hours.
- Equalization stop mode: You can opt for a Fixed Time or an automatic stop based on Voltage. Usually, it’s Fixed Time.
- Equalization Voltage: This should be set at 14.40 volts.
- Float Voltage: Set this to 13.50 volts.
- Low-Temperature Cutoff: This is optional and can be Disabled.
- Maximum Absorption Time: This ranges from 6 hours to a minimum of 3 minutes for every 100Ah of battery capacity.
- Maximum Absorption Rate: Should be 30 minutes for every 100Ah of battery capacity.
- Manual Equalization: Choose ‘start now’ if you want to initiate equalization manually.
- Maximum Equalization Duration: This should be between 3 and 4 hours.
- Re-Bulk Voltage offset: Set this to 0.1 volts.
- Tail Current: This should be 2.0A.
- Temperature Compensation: This is calculated as 27.7 volts for every 40° Celsius change within a 25° Celsius base temperature.
Remember, you can adjust these settings manually on the controller itself or through PC software.
Always follow the manufacturer’s guidelines for the best results.
24V Solar Charge Controller Settings
For a 24V residential solar power system, the settings on the charge controller are critical for efficient operation.
You’ll typically find these settings in the user manual for your specific controller, but here are some standard ones:
- The Battery Floating Charging Voltage should be set to 27.4V.
- The Battery Over-discharging Protection Voltage range should be between 21.6V and 22.8V.
- The Battery Overcharging Protection Voltage should be set between 28.2V and 29V.
When it comes to AGM batteries, which can be part of a 12V, 24V, or 48V system, the settings are as follows:
- The maximum charge current should not exceed 50A for each 100Ah of battery capacity.
- Set the absorption voltage at 14.60 volts and the float voltage at 13.50 volts.
- The equalization voltage should be 14.40 volts with a bulk voltage offset of 0.10 volts.
- The absorption duration should be set to adapt to the battery’s needs, with a time frame ranging from 6 hours to a minimum of 30 minutes for every 100Ah of battery capacity.
- Set the current percentage for equalization at 25%, with a maximum duration of 4 hours.
Always refer to the AGM battery manufacturer’s recommendations, as these settings can vary based on the specific battery design and capacity.
Making the right adjustments ensures the longevity and efficiency of your solar power system’s battery storage.


