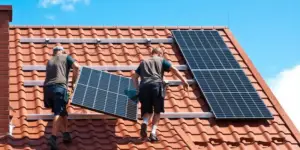
For many homeowners, the allure of solar energy is deeply tied to the idea of self-sufficiency. But does this mean you should embark on the journey of setting up solar panels on your own? Likely, it’s a venture best avoided.
Implementing a solar system in a residence isn’t just about placing panels on a roof.
It involves puncturing the roof to secure panels, handling electrical components that can be hazardous, and linking everything either to the main electricity grid or to an array of batteries.
Given the complexity of the task, it’s advisable to lean on experts, especially as the field is flourishing due to tax breaks and other incentives that fuel its growth.
Beyond the practicality, transitioning to solar also presents a broader advantage by decreasing dependence on non-renewable energy sources and enhancing a power grid fed by varied energy inputs.
Yet, some homeowners are undeterred and choose to undertake this challenge independently. Regardless of your choice, it’s essential to be well-informed and consider all factors involved.
Solar Panel Installation Process
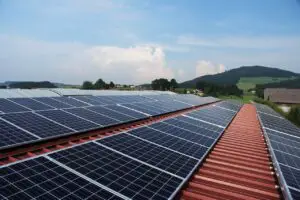
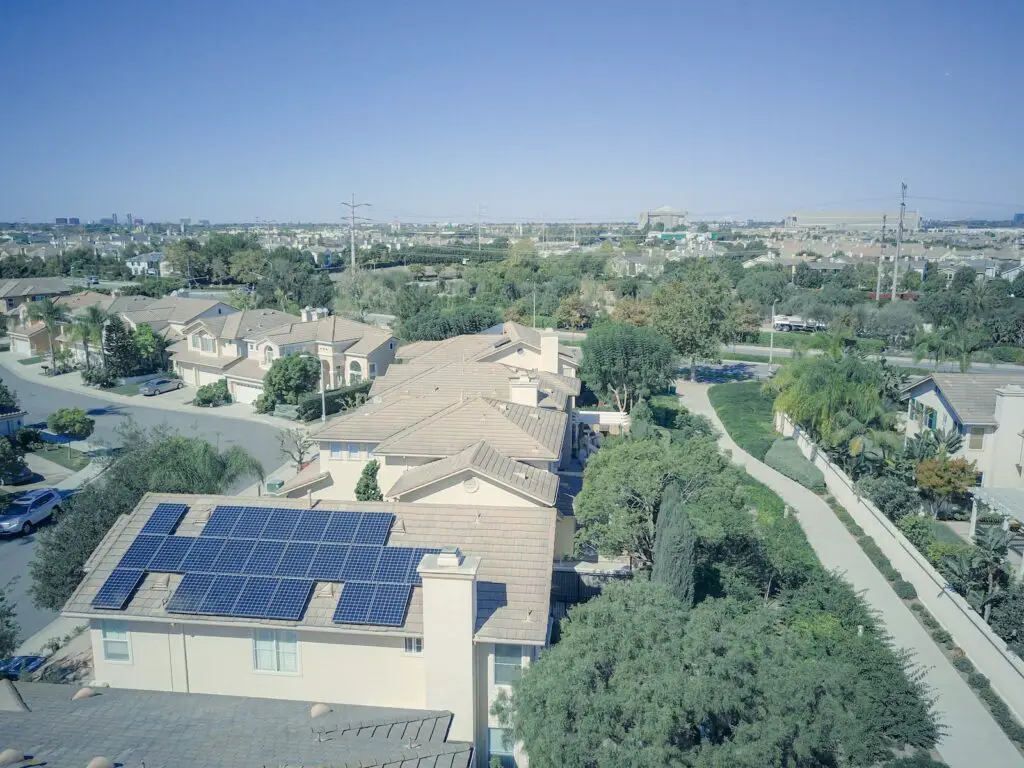
The roof is the predominant spot for setting up solar PV panels, as most roofs naturally align with the optimal conditions for capturing sunlight.
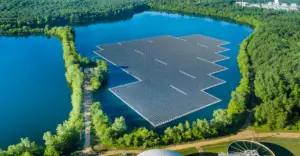
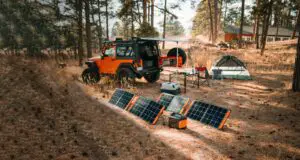
However, if a rooftop installation isn’t feasible or preferred, ground mounting is an alternative. It’s essential to ensure that no obstructions shade the panels from the sun.
Here’s a brief guide to rooftop solar panel installation:
Erect the Scaffolding
Begin by setting up scaffolding to ensure safety throughout the roof installation process.
Position the Solar Mounts
Next, establish the solar panel mounts that will serve as the foundation for the panels.
Ideally, the mount should be angled between 18 to 36 degrees to optimize sunlight capture.
Mount the Solar Panels
With the mounting structure ready, place the solar panels and secure them firmly using all necessary bolts and nuts.
Establish Electrical Connections
Proceed to lay out the electrical wiring. Typically, MC4 connectors are the go-to, as they’re compatible with various solar panels.
Ensure the home’s power is off while handling electrical installations.
Set Up the Solar Inverter
Connect the solar inverter, positioning it close to the main panel. Whether you place it inside or outside, aim for a location that remains relatively cool.
If outdoors, shield it from direct afternoon sun. Indoor locations like garages or utility rooms, which remain cool and have adequate ventilation, are ideal.
Link the Inverter and Solar Battery
Subsequently, bridge the solar inverter to the solar battery.
This battery storage can be a backup during overcast days and might even reduce costs during the installation phase.
Integrate the Inverter with the Consumer Unit
The next move is to join the inverter to the consumer unit, enabling electricity generation. Alongside, attach a generation meter to gauge the electricity produced by your panels.
Modern setups allow you to monitor production metrics on devices like computers, helping you optimize usage times for appliances like washing machines.
Activate and Assess
Lastly, power on and assess your new solar system. Once you confirm everything’s in order, the installation process is deemed complete.
Solar Panel Installation Cost
The cost of a fully installed solar system generally ranges from $3 to $5 per watt before incentives like the 30% tax credit.
Therefore, a 5,000-watt (5 kW) solar system would cost between $15,000 and $25,000.
The price per watt for larger, straightforward projects typically falls within the $3-$4 range. Applying incentives such as tax credits and rebates can further reduce the price per watt.
Solar Panel Installation Placements
- Can You Put Solar Panels on the Townhouse
- Can You Put Solar Panels on Both Sides of Roof
- Can You Put Solar Panels On A Gambrel Roof
- Can You Put Solar Panels on a Gazebo
- Can You Put Solar Panels On A 20-Year-Old Roof
- Can You Put Solar Panels on a Slate Roof
- Can You Put Solar Panels on Fences
- Can You Put Solar Panels Near the Ocean