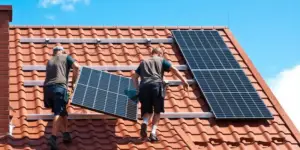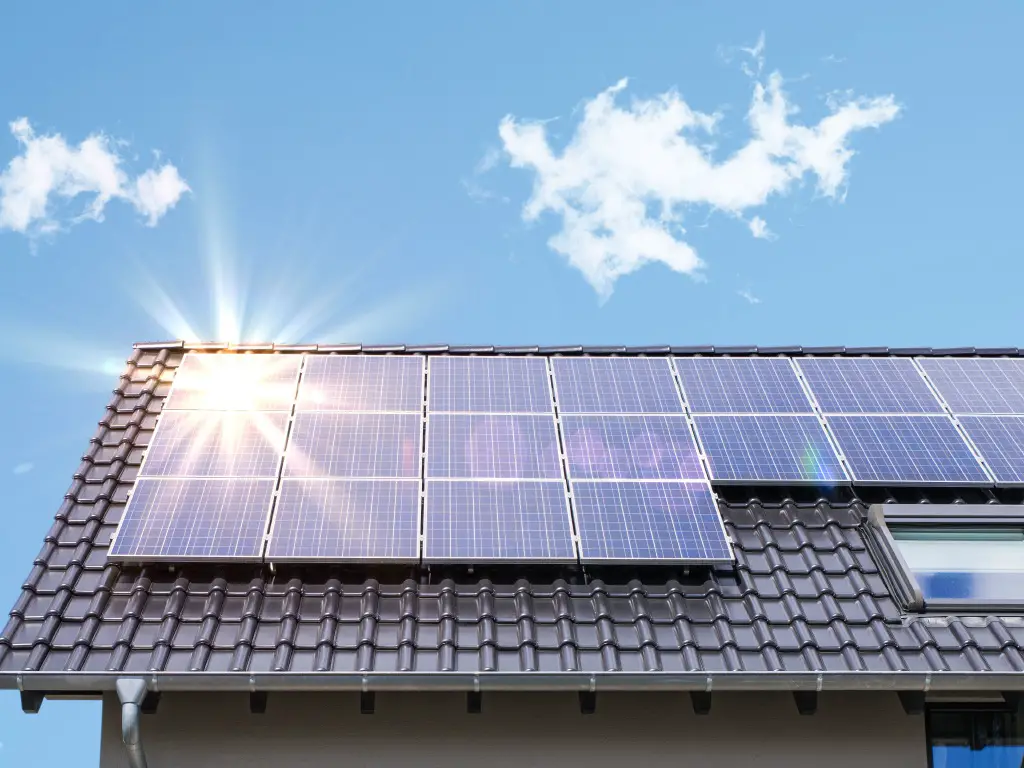
When harnessing the sun’s power with solar panels, the charge controller plays a crucial role in managing the energy flow to the battery, protecting it from overcharging and extending its lifespan.
However, even the most reliable systems can encounter hiccups.
In this guide, we delve into the world of solar charge controller troubleshooting, offering clear and practical advice for identifying and solving common issues.
From addressing voltage irregularities to tightening loose connections, we’ll walk you through the essential steps to ensure your solar charge controller continues to operate efficiently.
Whether you’re a seasoned solar panel owner or new to solar energy, this guide aims to equip you with the knowledge to maintain optimal performance and get the most out of your solar investment.
Here are some typical issues that can happen with solar charge controllers:
Battery Voltage Gets Too Low, the Controller Turns Off the Power
A common issue with these solar panels is that the battery they’re connected to may lose power, often because the panel hasn’t been in the sun for a long time.
When the battery’s voltage gets too low, it can’t supply power, and to avoid any damage, the controller turns everything off.
If your solar panel charge controller is turning off but there’s still a lot of sun, you should check the battery voltage.
It needs to be between 12 and 13 volts. If it’s not, you’ve found the issue. You should either place your panel in a sunnier spot or consider using a battery with a higher voltage. Getting a higher-voltage battery is typically the best choice.
Battery Voltage Gets Too High, the Controller Switches Off the Load
If the battery voltage becomes too high, the charge controller will shut off the power to prevent damage. High voltage is a key reason why solar panels can wear out. If the battery’s voltage climbs too high, it could harm the cells.
Understanding solar charge controllers for solar panels often have a set maximum voltage they can handle. If the battery’s voltage hits this maximum, the controller cuts the power to stop any harm.
This issue is more frequent in very sunny, hot places. If you’re in such a location, choose a charge controller that can handle a higher maximum voltage.
To address a high voltage issue, first check if the battery cables are loose, as this could lead to a voltage spike.
Also, keep the battery cool. If it’s hot, use a fan or move it somewhere cooler.
Finally, review the charge controller’s maximum voltage setting. It’s a common error to set it too low. If that’s the case, just increase it to resolve the problem.
The Output Current of Solar Panels Is More Than the Rated Current of the Controller
When the solar panel produces more current than the charge controller’s capacity, it’s not exactly harmful, but it isn’t ideal either.
This occurs if you connect a strong solar panel to a charge controller that isn’t rated for that much power.
In such scenarios, the current output from the panel exceeds what the controller can manage.
Although it typically doesn’t cause damage, it can make the charging process less efficient.
To solve this, you might upgrade to a higher-capacity charge controller or run two controllers at the same time.
The second option is often preferred since it offers more versatility, allowing you to use various controllers with distinct features.
Output Voltage of the Solar Panel Is More Than the Maximum Voltage Limit of The Controller
If the voltage from the solar panel exceeds what the charge controller can handle, it can lead to issues.
Often, the controller will shut down to avoid damage.
This could be because of a problem with the solar panel or because the controller’s maximum voltage limit is set too low.
If your controller turns off frequently, you should measure the solar panel’s output voltage.
The voltage should stay within 18 to 22 volts. If it’s higher, that’s likely causing the trouble.
The solution is to either replace the solar panel with one that has an appropriate voltage output or use a charge controller that can handle higher voltages.
The Output Voltage of the Solar Panel Is Too Low
Low solar panel output voltage can be a sign of insufficient sunlight reaching the panel.
Start by checking if the solar panel is positioned correctly towards the sun; if not, this could be the cause.
Dirt and debris like dust or bird droppings on the solar panel can also prevent sunlight from getting through to the cells.
Smog or heavy air pollution in your area can also lower the voltage output of your solar panel.
Cleaning the panel might solve the issue.
Use a cloth and soapy water to gently clean it. If that doesn’t help, consider getting a professional to check it out.
Load Output Is Short Circuit
A solar panel not functioning is often due to a short circuit in its load output, which can be due to several issues:
Loose connections are a primary concern.
Check and secure all connections; tightening any that are loose might fix the problem.
Damaged wires can stop a solar panel from working.
This damage could be from animals chewing on them, physical damage, or water damage.
You’ll have to replace any damaged wires you find.
A faulty fuse is another common problem.
A fuse can blow, be connected loosely, or have the wrong rating.
If you discover a faulty fuse, it needs to be replaced.
A tripped circuit breaker can also cause issues.
Overloaded circuits, short circuits, or ground faults can all trip a breaker.
Resetting a tripped breaker is necessary, but if it keeps tripping, the breaker may need to be replaced to prevent ongoing issues with your charge controller.
How to Keep Your Solar Charge Controller Working Properly?
To ensure your solar panel charge controller functions smoothly, consider the following tips:
Place it in a cool, dry area to avoid overheating, which is a common cause of failure in these devices.
Steer clear of locations with direct sunlight or close to appliances that generate a lot of heat.
This can extend the service life of your charge controller.
Regularly tighten any loose connections.
Vibrations from the panels can lead to screws loosening over time, so checking and tightening these connections can prevent issues.
You might want to use a thread-locking fluid to prevent screws from loosening.
Periodically inspect the charge controller for any signs of wear, damage, or corrosion, and address any issues immediately.
Cleaning the device with a slightly damp cloth can help prevent buildup of dust and debris.