As the planet faces increasing climate challenges like severe weather, rising sea levels, and hotter temperatures, we need to find eco-friendly solutions for everyday needs.
Portable solar generators are one such answer, offering a way to generate and store clean, renewable energy for emergencies.
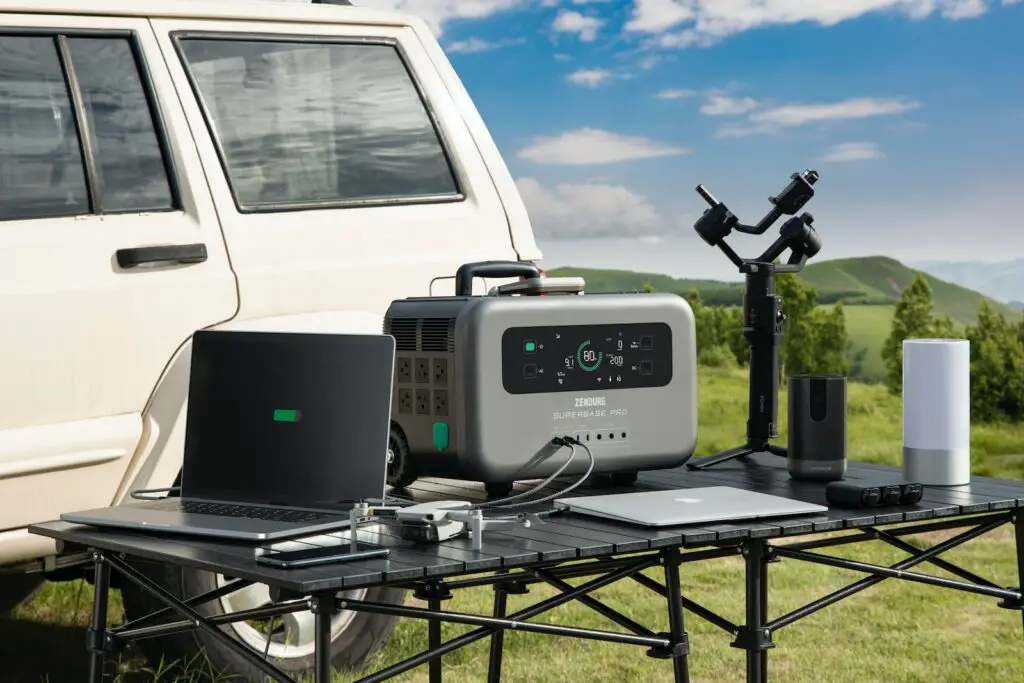
A solar generator is essentially a movable power station that captures energy from the sun and saves it in a battery for future use.
Not only do these generators provide clean energy from the sun, but they also reduce pollution that comes from traditional portable generators.
Manufacturers are making major upgrades to the reliability and quality of solar backup generators, showing how popular they’re becoming as an alternative to fossil fuel-based generators.
In this article, we’ll explore how are portable solar generators made.
How Are Portable Solar Generators Made?
Creating a portable solar generator involves a series of specific steps to ensure its functionality and efficiency.
Here’s a detailed guide on how to make one:
Step 1 – Test the Parts First
You need to test the solar panel and charge controller by:
- Connecting the solar panel cables to the charge controller’s positive (+) and negative (-) ends.
- Hooking up the battery connector to the controller.
- A green light will show on the controller, meaning the battery is fully charged.
- Point the panel at a window to see if the LED turns green, which means it’s capturing sunlight.
Next, test the inverter by:
- Connecting black and red cables to the inverter and battery.
- Switching on the inverter and checking it with an appliance (like a fan) to see if it works.
Finally, test the battery charge controller:
- Disconnect the battery from the charge controller.
- Connect maintenance wires to the battery poles, positive first.
Step 2 – Assemble the Generator
Marking and Cutting the Openings
Use masking tape to mark where you’ll cut holes in the case. Measure and draw lines on the case for each hole.
Use vibrating multi-tools with plunge-cutting blades for straight cuts, and hole saws or drills for circular holes.
A pneumatic die grinder helps to remove extra material and refine the holes.
Attaching External Parts
Line the holes with black silicone sealant or use rubber gaskets, if available.
Follow the same process for all components to be attached to the case.
Use stronger bolts for installing the GFCI outlet and waterproof cover.
However, finish the wiring before securing these bolts.
For converters over 4000 watts, use 12-gauge wires for the GFCI outlets.
Always leave a few extra inches of wire.
Mark cuts for solar panel connections.
Quick connectors are optional but useful for connecting extra batteries.
Mounting the Battery
Put the battery farthest from the wheels, as it’s the heaviest component.
Support it well within the casing. Drill holes for mounting the battery, but don’t fix the bolts until everything is ready.
Installing the Inverter
Place the AC pure sine wave inverter near the GFCI-waterproof outlet, so its cables are close to the battery.
Mark holes for the inverter and use machine bolts, nuts, and washers to secure it.
Connect the GFCI outlet’s pigtail line to one of the inverter’s outlets.
Setting Up the AC Battery Maintainer and Charge Controller
Mount the AC battery maintainer on the system’s back wall. Plug its power cord into the external 12V AC cord socket.
Finally, wire all internal and external components to finish the setup.
By following these steps, you can build a reliable and efficient portable solar generator.
Make sure to test each component thoroughly before assembling it to ensure it functions as expected.

